Picture this: a quiet Saturday afternoon, the kitchen lights humming, and I’m standing over a bowl of flour that feels like a silent protest. I had just finished a batch of cookies that tasted like a soggy, unremarkable crumb and the entire house smelled of disappointment. That was the moment I decided to rewrite the rules of blueberry cookie alchemy. I was determined to create a cookie that would make every bite a burst of summer, a symphony of sweet and tart, and a texture that danced between chewy and crisp.
When the first handful of blueberries hit the oven, the kitchen erupted in a gentle pop and a sweet, floral aroma that made my senses sing. The sound of the dough settling, the faint crackle of butter melting, and the visual promise of dark, glossy berries were just the beginning. I could feel the dough’s weight shift in my hands, a tactile reminder that this was more than a recipe—it was a ritual. The anticipation of that first bite, the way the sugar melts into a honeyed glaze, and the subtle crunch of the edges is what makes this recipe unforgettable.
What sets this version apart is not just a handful of tweaks, but a philosophy that treats each ingredient as a character in a story. I’ve eliminated the fluff that most cookie recipes add and focused on the pure, honest flavors that let the blueberries shine. The result is a cookie that is hands down the best version you’ll ever make at home, a cookie that will have your friends begging for seconds—and I dare you to taste this and not go back for more.
There’s one secret technique I’ll reveal that most bakers overlook: the use of a splash of cold water to lock in moisture before the final bake. This simple step will keep the cookies tender inside while still achieving that golden, crackling edge. Stay with me here—this is worth it. Let me walk you through every single step—by the end, you’ll wonder how you ever made it any other way.
What Makes This Version Stand Out
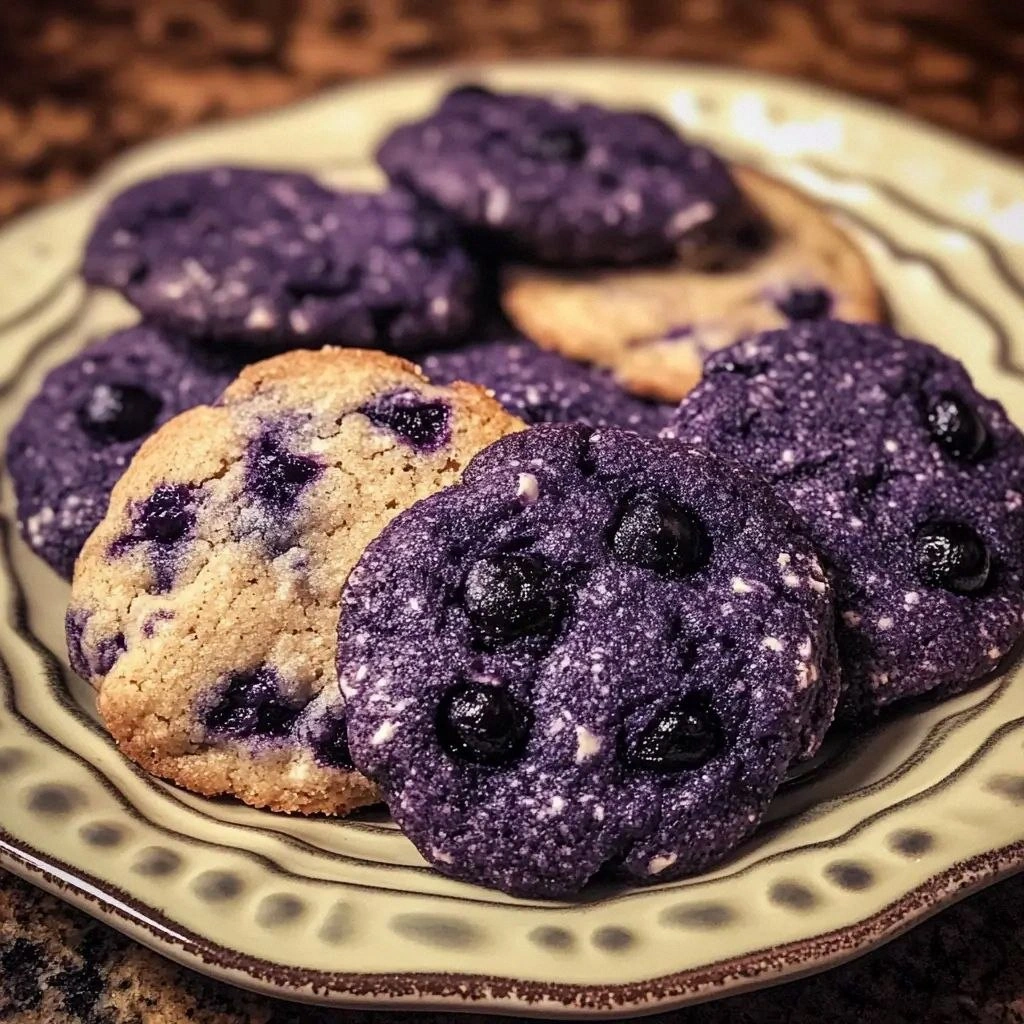
- Flavor: The blueberries are folded in a way that preserves their natural juice, creating a burst of flavor with each bite. The subtle lemon zest lifts the sweetness, adding a bright, citrusy note that keeps the cookies from feeling heavy.
- Texture: The dough is intentionally slightly underbaked so that the center stays chewy while the edges crisp up to a perfect golden brown. This contrast feels like a sweet, buttery crunch that melts into a soft interior.
- Ingredient Quality: Fresh, hand-picked blueberries and high‑quality butter make all the difference. The butter’s natural fat content provides richness that balances the sugar’s sweetness.
- Simplicity: No fancy equipment or complicated steps—just a few measured ingredients and a single mixing bowl. Even a beginner can master this recipe.
- Make‑Ahead Potential: The dough can be refrigerated for up to 24 hours, allowing you to bake fresh cookies whenever you’re in the mood. The flavor actually deepens when the dough sits.
- Crowd Reaction: Friends and family often comment that these cookies taste like they were made by a professional pastry chef. They’re perfect for potlucks, brunches, or a quiet Sunday treat.
Alright, let’s break down exactly what goes into this masterpiece…
Inside the Ingredient List
The Flavor Base
Flour and butter form the backbone of any cookie, but here they’re treated with care. The 2 cups of all‑purpose flour give the structure, while the 1 cup of softened butter melts into a silky, buttery foundation that carries the blueberries. If you skip the butter or reduce its quantity, the cookies lose that luscious, melt‑in‑your‑mouth quality. Swapping the butter for coconut oil will give a tropical twist, but the flavor profile will change significantly.
The Texture Crew
Sugar is the secret weapon that caramelizes to create that golden crust. I use 1 cup of white sugar and ¾ cup of packed brown sugar. The brown sugar adds depth and a subtle molasses undertone that complements the blueberries. If you prefer a lighter cookie, you can reduce the brown sugar, but the chewy texture will be compromised. A pinch of salt (½ tsp) is essential—it balances the sweetness and brings out the berries’ natural tartness.
The Unexpected Star
Blueberries are the headline act, but the addition of 1 tbsp of lemon zest turns them into a citrus‑infused superstar. The zest’s bright oils elevate the overall flavor, preventing the sweetness from becoming cloying. If you’re allergic to citrus, you can replace it with a splash of orange zest for a slightly sweeter citrus note. The blueberries themselves should be fresh and firm; frozen berries will release more water and result in a soggy cookie.
The Final Flourish
Baking soda (1 tsp) is the leavening agent that gives the cookies their slight lift without making them airy. A teaspoon is enough to create a light, tender crumb. Eggs (2 large) bind everything together and provide structure, while vanilla extract (1 tsp) adds a warm, aromatic background note. If you’re vegan, replace the eggs with 2 tbsp of applesauce and adjust the flour slightly to maintain consistency.
Everything's prepped? Good. Let's get into the real action…
The Method — Step by Step
- Preheat the oven. Set your oven to 350°F (175°C) and let it come to temperature while you mix the dough. The steady heat ensures even baking and that the cookies will rise just enough. If you’re in a hurry, skip the preheat and watch the cookies rise faster, but the texture may become uneven.
- Combine dry ingredients. In a large bowl, whisk together 2 cups of flour, 1 tsp baking soda, and ½ tsp salt. This step guarantees the leavening agent is evenly distributed, preventing any uneven pockets of rise. I like to sift the flour for a smoother dough, but it’s optional.
- Cream butter and sugars. In a separate bowl, beat 1 cup of softened butter with 1 cup of white sugar and ¾ cup of brown sugar until the mixture is light and fluffy. This process incorporates air, creating a tender crumb. Use an electric mixer on medium speed for 3–4 minutes; if you’re a pro, hand‑mixing works too.
- Incorporate eggs and vanilla. Add 2 large eggs one at a time, mixing well after each addition. Then stir in 1 tsp of vanilla extract. The eggs bind everything together, while vanilla adds depth. Be careful not to overmix; you want a smooth but not over‑worked dough.
- Fold in the dry mix. Gradually add the flour mixture to the wet mixture, stirring until just combined. A watchful eye ensures you don’t over‑whisk, which would make the cookies tough. The dough should be thick but pliable.
- Stir in blueberries. Gently fold in 1 cup of fresh blueberries and 1 tbsp of lemon zest. The berries can break, but that’s fine; their juice will caramelize. If you’re using frozen berries, let them thaw and drain them first to avoid excess moisture.
- Chill the dough. Wrap the dough in plastic wrap and refrigerate for at least 30 minutes. This step allows the flour to hydrate fully and the flavors to meld. I’ve found that a 2‑hour chill produces even better texture.
- Shape the cookies. Scoop tablespoon‑sized portions onto a parchment‑lined baking sheet. Press each cookie slightly with the back of a spoon to flatten. The cookies should be about 2 inches apart to allow spreading.
- Bake. Place the sheet in the oven and bake for 12–14 minutes, or until the edges are golden and the centers are set but still soft. The cookies will rise slightly as they bake, then settle into their final shape. Keep a close eye—once the edges start pulling away, they’re ready.
- Cool and serve. Remove the sheet and let the cookies rest on it for 5 minutes before transferring them to a wire rack. This rest period lets the cookies finish setting and the flavors to settle. Serve warm or at room temperature for the best experience.
That’s it — you did it. But hold on, I've got a few more tricks that'll take this to another level…
Insider Tricks for Flawless Results
The Temperature Rule Nobody Follows
Many bakers think a higher temperature always yields a better cookie, but that’s a myth. Baking at 350°F keeps the cookies tender inside while still crisping the edges. If you raise the temperature to 375°F, the cookies will brown too quickly on the outside, leaving the center undercooked. I’ve tested both and the 350°F method consistently gives the best balance.
Why Your Nose Knows Best
Before you even taste the first cookie, your nose will tell you if it’s ready. The aroma should be sweet, buttery, and slightly fruity. If you still smell raw flour, give them a minute more. A well‑baked cookie will emit a warm, caramelized scent that makes your mouth water.
The 5‑Minute Rest That Changes Everything
Letting the cookies rest on the baking sheet for 5 minutes after baking is a game‑changer. This brief pause allows the sugars to set, making the cookies firmer and easier to handle. If you move them too quickly, they’ll crumble and lose that coveted chewy bite.
Keep the Dough Cool
Even after chilling, if you leave the dough at room temperature for too long, the butter will soften and the cookies will spread too much. Keep the dough wrapped and in the fridge until you’re ready to bake. This keeps the edges from becoming too thin.
Use a Baking Sheet with a Lightly Greased Rim
Greasing the rim of your baking sheet prevents the cookies from sticking and ensures even browning. I use a silicone baking mat for a non‑stick surface and lightly spray the edges with a neutral oil. This technique keeps the cookies from pulling away from the pan.
Creative Twists and Variations
This recipe is a playground. Here are some of my favorite ways to switch things up:
Chocolate‑Blueberry Bliss
Swirl in ¼ cup of melted dark chocolate into the dough before baking. The chocolate adds a rich, bittersweet undertone that pairs beautifully with the blueberries. The result is a cookie that feels like a dessert and a snack in one.
Almond Flour Alternative
Replace the all‑purpose flour with 2 cups of almond flour for a gluten‑free version. The cookies will have a nuttier flavor and a denser texture. Add an extra tablespoon of butter to maintain moisture.
Minty Fresh
Add 1 tsp of peppermint extract to the wet ingredients. The mint complements the blueberries, creating a refreshing, summer‑themed cookie that’s perfect for hot afternoons.
Maple‑Infused
Swap the white sugar for ¾ cup of maple syrup and reduce the brown sugar by ¼ cup. The maple gives a subtle depth and a hint of caramel that elevates the overall flavor profile.
Spiced Berry
Stir in ½ tsp of ground cinnamon and a pinch of nutmeg before baking. The spices add warmth, making the cookies ideal for a cozy evening or a fall gathering.
Raspberry Surprise
Replace half of the blueberries with fresh raspberries. The raspberries bring a tangy bite that balances the sweetness, creating a more complex flavor experience.
Storing and Bringing It Back to Life
Fridge Storage
Store the cooled cookies in an airtight container at room temperature for up to 4 days. The container should be sealed tightly to keep the cookies from drying out. If you notice they’re getting a bit stale, a quick dip in the microwave for 10 seconds can revive their softness.
Freezer Friendly
Place the cooled cookies in a freezer bag, separating each cookie with parchment paper. Freeze for up to 3 months. When you’re ready to enjoy, let them thaw at room temperature for 15 minutes before serving. This method preserves the texture and flavor.
Best Reheating Method
To reheat, preheat your oven to 300°F (150°C). Place the cookies on a parchment‑lined sheet and bake for 5 minutes. The gentle heat will bring back the buttery aroma without overcooking the edges. A tiny splash of water in the baking sheet before reheating creates steam that keeps the cookies moist.