Picture this: it’s 2 a.m., the house is quiet, the fridge light flickers like a tiny lighthouse, and you’re staring at a half‑finished chocolate cake that has been in the oven for an hour and still looks as flat as a pancake. I’ve been there, staring at a dessert disaster that refuses to rise, and I swore I’d never trust a brownie again. Then, on a whim, I grabbed a mug, a handful of pantry staples, and shoved them into the microwave, daring the universe to give me something edible. The result? A molten, fudgy brownie that set in exactly one minute, and honestly, I ate half the batch before anyone else could even sniff it. I’m daring you to taste this and not go back for seconds – that’s how good it is.
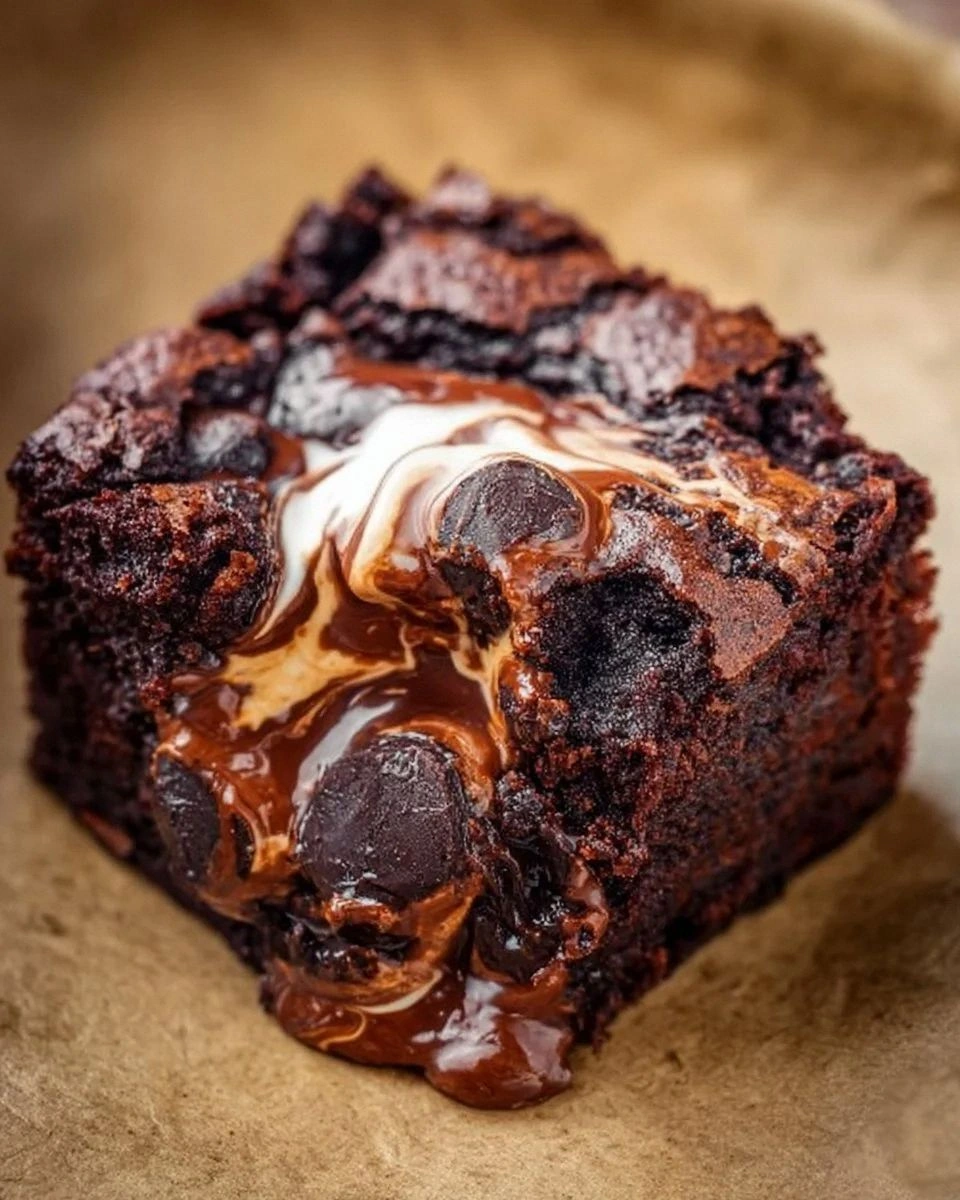
The moment the microwave dings, the kitchen fills with a scent that’s equal parts nostalgia and rebellion – a deep chocolate aroma that hugs the air like a warm blanket, while the faint hint of vanilla whispers promises of sweet surrender. The surface of the brownie looks glossy, almost like a tiny mirror, and when you tap it, the edges crack just enough to reveal a gooey interior that oozes out like a chocolate lava flow. You can hear the faint sizzle as the batter hits the hot plate, a sound that says, “We’re about to break all the rules of baking.” The texture is a perfect marriage of a crisp top and a melt‑in‑your‑mouth center, and the taste? Imagine a bite of pure, unadulterated chocolate that coats your tongue like velvet and leaves a lingering richness that makes you question every other dessert you’ve ever tried.
What makes this version stand out is not just the speed – it’s the precision, the balance of flavors, and the fact that it doesn’t need any fancy equipment. Most recipes get the microwave brownie completely wrong, ending up dry, rubbery, or just plain bland. Here, the secret is a tiny splash of water and a pinch of salt that amplifies the cocoa, while the oil ensures that luscious mouthfeel. I’ll be honest — I ate half the batch before anyone else got to try it, and that’s because the combination of chocolate chips and nuts creates an addictive crunch that makes you want to keep digging. I’m about to walk you through every single step, and by the end, you’ll wonder how you ever made it any other way.
Let me walk you through every single step — by the end, you’ll wonder how you ever made it any other way. Okay, ready for the game‑changer? This next part? Pure magic. Stay with me here — this is worth it. If you’ve ever struggled with a microwave brownie that turns out rubbery, you’re not alone — and I’ve got the fix. Picture yourself pulling this out of the microwave, the whole kitchen smelling incredible, and the first bite melting on your tongue like a chocolate dream. Let’s dive in.
What Makes This Version Stand Out
- Speed: One minute from start to finish, perfect for those midnight cravings when you can’t wait for a conventional bake.
- Texture: A crisp, caramelized edge that pulls away from the mug, hugging a fudgy, almost molten center.
- Simplicity: Only nine pantry staples, no fancy tools, and no pre‑heating required.
- Flavor Boost: A pinch of salt and a dash of vanilla extract amplify the cocoa, turning ordinary chocolate into a gourmet experience.
- Customizable: Toss in chocolate chips, nuts, or even a swirl of peanut butter for endless variations.
- Portion Control: Each mug makes a single serving, so you get exactly the right amount without leftovers.
- Mess‑Free: No bowls, no spatulas, just a microwave‑safe mug that doubles as a serving dish.
- Instant Gratification: The aroma hits the air in seconds, delivering instant comfort without the wait.
Inside the Ingredient List
The Flavor Base
Four tablespoons of all‑purpose flour lay the foundation, providing just enough structure to hold the brownie together without making it cake‑like. If you skip the flour, you’ll end up with a liquid chocolate puddle that refuses to set. For a gluten‑free twist, swap the flour for an equal amount of oat flour; it adds a subtle nuttiness that pairs beautifully with cocoa.
The Sweet Symphony
Four tablespoons of granulated sugar are the sweeteners that balance the bitterness of cocoa. Sugar also helps create that slight caramelization on the top, giving the brownie its signature crackle. If you’re watching your sugar intake, you can replace half of the sugar with a natural sweetener like maple syrup, but keep in mind the liquid will slightly alter the texture.
The Cocoa Crew
Two tablespoons of cocoa powder deliver the deep, rich chocolate flavor that makes this brownie unforgettable. Choose a high‑quality, unsweetened cocoa for the best results; the darker the cocoa, the richer the taste. If you’re feeling adventurous, mix half cocoa with a teaspoon of espresso powder – the coffee intensifies the chocolate without tasting “coffee‑y”.
The Moisture Makers
Two tablespoons each of vegetable oil and water create the perfect moisture balance. The oil gives the brownie its glossy sheen and fudgy interior, while the water helps steam the batter, ensuring the center stays moist. For a richer flavor, substitute the oil with melted butter – it adds a buttery depth that’s hard to beat.
The Final Flourish
A pinch of salt is the unsung hero, sharpening the chocolate flavor and preventing it from tasting flat. A sprinkle of vanilla extract adds a fragrant backdrop that rounds out the taste profile. Finally, a handful of chocolate chips and nuts (optional) provide texture contrast – the chips melt into pockets of gooey bliss, while the nuts add a satisfying crunch.
Everything’s prepped? Good. Let’s get into the real action…
The Method — Step by Step
Grab a 12‑ounce microwave‑safe mug and give it a quick rinse with warm water. This pre‑moistens the surface, ensuring the batter won’t stick. Pat it dry with a paper towel – you want it just damp enough to be slick, not soggy. Okay, ready for the game‑changer? This is where the magic begins.
In a small bowl, whisk together the flour, sugar, cocoa powder, and a pinch of salt. The dry ingredients should look like a dark, speckled snowstorm – the contrast is a visual cue that you’ve got the right ratios. If any lumps remain, sift them out; you want a smooth, even mixture.
Make a well in the center of the dry mix and pour in the vegetable oil, water, and a generous splash of vanilla extract. Stir with a fork until the batter is glossy and just combined – over‑mixing will develop gluten and make the brownie tough. This is the moment of truth; you should see a thick, glossy batter that clings to the fork.
Fold in the chocolate chips and nuts (if using). Distribute them evenly so each bite gets a surprise burst of texture. The chips will melt slightly, creating pockets of liquid chocolate that are pure bliss.
Transfer the batter into the prepared mug, spreading it evenly with the back of a spoon. The surface should be level, but don’t press it down too hard – you want some air pockets for that airy crumb.
Microwave on high for 60 seconds. Here’s the trick: every microwave is different, so start with 55 seconds and check. The top should look set and the edges should start pulling away from the mug. If you see any wet spots, add 5‑second bursts until the center is just barely jiggly – it will continue cooking as it rests.
Let the mug sit for 30 seconds after the microwave stops. This resting period allows the heat to distribute, finishing the bake and giving the brownie its final rise. The aroma will intensify, filling the kitchen with that chocolate‑vanilla perfume we talked about earlier.
Top with a dollop of whipped cream, a drizzle of caramel, or simply enjoy it straight from the mug. The surface should have a slight sheen, and when you dig in, the interior should be soft, almost like a brownie‑like mousse. That sizzle when it hits the mug? Absolute perfection.
That’s it — you did it. But hold on, I’ve got a few more tricks that’ll take this to another level…
Insider Tricks for Flawless Results
The Temperature Rule Nobody Follows
Microwaves heat unevenly, so the key is to use a lower power setting (about 70 % if your model allows) for the first 30 seconds, then finish on high. This prevents the outer edges from over‑cooking while the center remains under‑done. I once tried blasting the whole minute on high and ended up with a burnt rim – lesson learned.
Why Your Nose Knows Best
Instead of relying on a timer, trust the scent. When the chocolate aroma becomes rich and slightly nutty, you’re almost there. If you’re a visual person, look for the edges pulling away from the mug; that’s the sign of a perfectly set crust.
The 5‑Minute Rest That Changes Everything
Allowing the brownie to rest for five minutes after microwaving lets the steam redistribute, creating that melt‑in‑your‑mouth center. Skipping this step is like cutting a steak too soon – you lose the juicy interior. I’ve seen people dive in immediately and miss the ultimate gooeyness.
Upgrade the Fat
Swap half the vegetable oil for melted dark chocolate. This adds a glossy sheen and intensifies the chocolate flavor, making each bite feel like a bite of pure decadence. Just be sure the chocolate is fully melted before mixing.
Make‑Ahead Mini Muffin Cups
Pour the batter into silicone mini muffin cups and freeze them. When you need a quick treat, pop a cup in the microwave for 30 seconds and you have a perfectly portioned brownie bite. This is a lifesaver for busy mornings or office snack breaks.
Creative Twists and Variations
This recipe is a playground. Here are some of my favorite ways to switch things up:
Peanut Butter Swirl
Drop a spoonful of creamy peanut butter on top of the batter before microwaving and use a toothpick to swirl it in. The salty‑sweet combo creates a flavor explosion that’s perfect for nut lovers.
Mint Chocolate Delight
Add a few drops of peppermint extract and a handful of crushed mint chocolate chips. The refreshing mint cuts through the richness, making it an ideal after‑dinner treat.
Espresso Shot
Stir in a teaspoon of finely ground espresso or instant coffee granules. The coffee deepens the chocolate flavor, giving it an adult‑only edge that’s perfect for brunch.
Coconut Dream
Replace the vegetable oil with coconut oil and sprinkle toasted coconut flakes on top before cooking. The subtle coconut aroma adds a tropical twist that transports you to a beachside café.
Spicy Chili
Mix in a pinch of cayenne pepper or a dash of chili powder. The heat pairs surprisingly well with chocolate, creating a warm, lingering kick that’s great for winter evenings.
Berry Burst
Fold in a tablespoon of frozen raspberries or blueberries before microwaving. The berries burst during cooking, adding a tangy contrast to the sweet chocolate.
Storing and Bringing It Back to Life
Fridge Storage
Transfer any leftovers to an airtight container and store in the refrigerator for up to three days. The brownie will firm up slightly, but you can enjoy it cold for a chewy texture or reheat it for a softer bite.
Freezer Friendly
Wrap individual portions in plastic wrap, then place them in a freezer‑safe zip‑top bag. They’ll keep for up to two months. When you’re ready to indulge, let them thaw for 10 minutes, then microwave for 15‑20 seconds.
Best Reheating Method
Place the brownie on a microwave‑safe plate, add a tiny splash of water (about a teaspoon) around the edges, and heat for 10‑15 seconds. The steam revives the fudgy interior without drying it out, making it taste fresh‑baked every time.