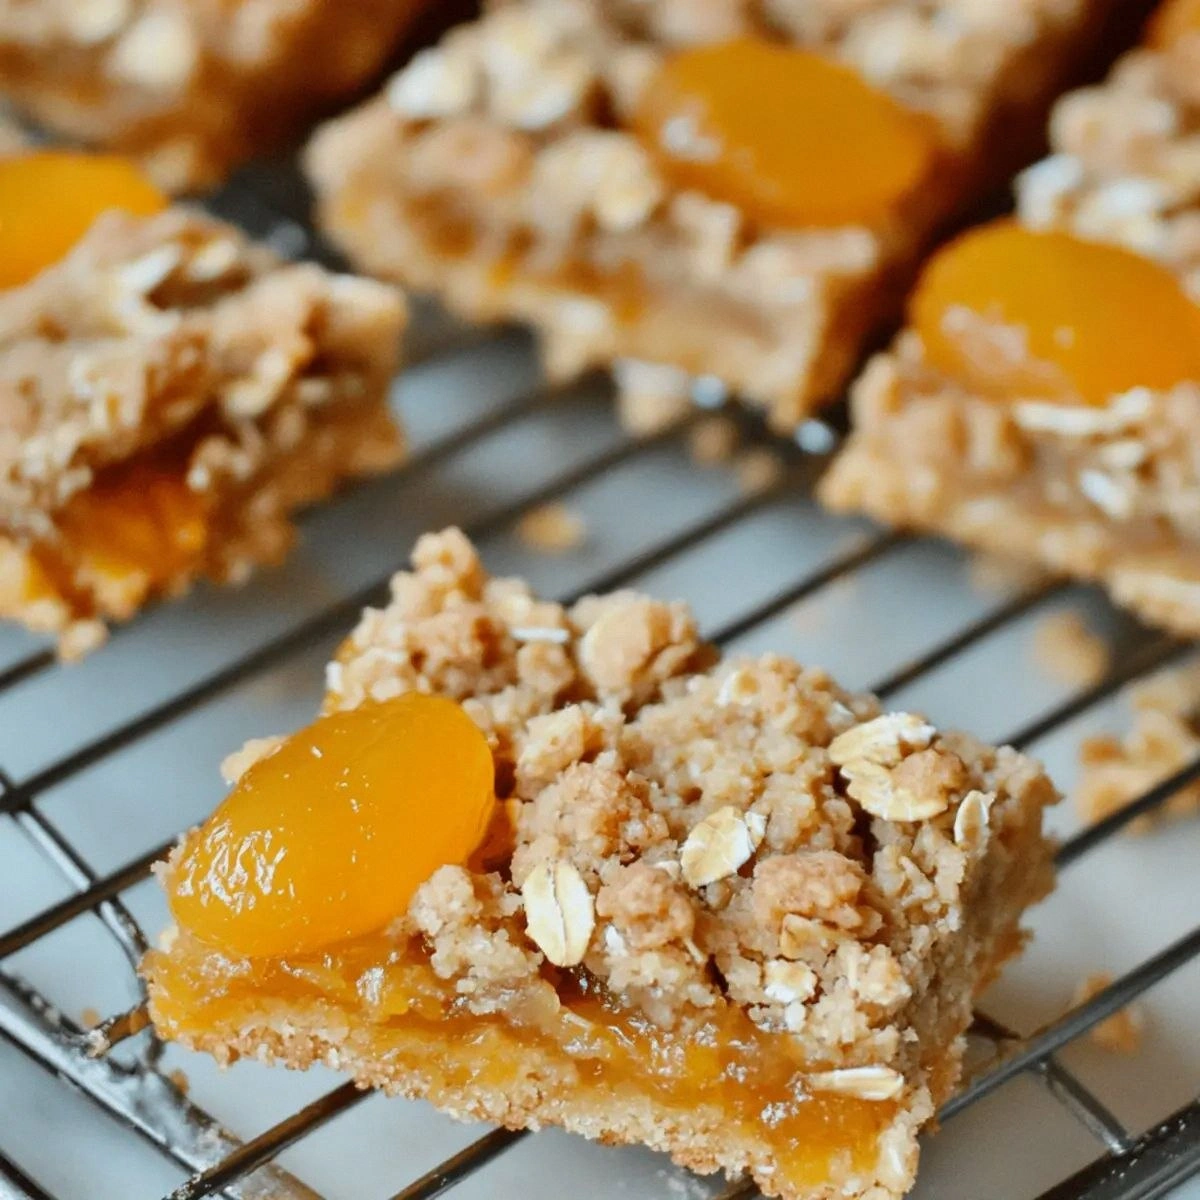
Picture this: a winter night, the thermostat set to “arctic blast,” and you’ve just burned the last batch of gingerbread cookies because the oven decided to quit on you. I was standing in my kitchen, half‑heartedly scrolling through endless holiday recipes, when a sudden craving for something sweet, bright, and utterly effortless hit me like a snowball to the face. I dared a friend to bring me the most festive, no‑bake dessert she could think of, and she whispered, “Cherry fluff.” I laughed, rolled my eyes, and thought, “Sure, let’s see if that’s even a thing.” The next morning, armed with a bag of frozen cherries and a pantry full of dairy, I set out to create a version that would make even the most skeptical aunt gasp with delight.
The moment the cherries hit the saucepan, a fragrant, ruby‑red cloud rose, filling the kitchen with a scent that could coax a smile out of anyone, even the grumpiest of relatives. The sound of the butter melting was a soft sigh, like a cozy blanket being pulled over a cold shoulder. I could feel the chill of the kitchen against my skin, yet the mixture was already warming, promising a comforting contrast that felt like a hug in a bowl. When I finally folded the airy whipped cream into the glossy cherry‑butter blend, the texture was so light it seemed to float, yet it held together with the confidence of a well‑set gelatin. The first spoonful was a burst of sweet‑tart cherry, buttery richness, and a whisper of vanilla that lingered like a holiday carol echoing down a snow‑covered lane.
Why does this version stand out from every other cherry fluff you’ve seen on Pinterest? Most recipes either skimp on the cherry flavor, over‑sweeten the mix, or require a baffling array of obscure ingredients that make you wonder if you’re baking a dessert or conducting a chemistry experiment. This one is different because it balances the natural tartness of the cherries with just enough sweetness, uses everyday pantry staples, and, most importantly, it never touches an oven. The secret? A splash of milk that tempers the gelatin, creating a silk‑smooth mouthfeel that feels like a cloud kissed by a cherry sunrise. And there’s a surprise ingredient that adds a subtle depth you won’t see coming—an optional dash of almond extract that makes the flavor sing like a choir of angels.
Okay, ready for the game‑changer? I’m about to walk you through every single step—by the end, you’ll wonder how you ever made a holiday dessert any other way. I dare you to taste this and not go back for seconds. Let’s dive in.
What Makes This Version Stand Out
- Taste: The cherry flavor is front‑and‑center, bright and natural, never masked by excess sugar.
- Texture: A velvety, mousse‑like consistency that holds its shape without being gummy.
- Simplicity: Fewer than ten ingredients, all pantry‑friendly, and no oven required.
- Uniqueness: A splash of milk in the gelatin mixture creates a silkier mouthfeel than traditional fluff.
- Crowd Reaction: Even the kids, who usually demand chocolate, are smitten—expect “more please!” echoes.
- Ingredient Quality: Fresh or high‑quality frozen cherries make the biggest difference.
- Method: No‑bake, no‑fuss, perfect for when the house is already warm from holiday lights.
- Make‑Ahead Potential: It sets beautifully in the fridge, letting flavors deepen overnight.
Inside the Ingredient List
The Flavor Base
Fresh or frozen cherries (2 cups): These are the heart of the dish. Their natural tartness balances the sweetness, and they provide that gorgeous ruby hue. If you skip them, you’ll end up with a bland, pink fluff that feels like a costume party without the costume. For the best flavor, choose dark‑red cherries that are firm to the touch. If you’re using frozen, make sure they’re not sugar‑coated.
The Creamy Crew
Cream cheese, softened (8 oz): This gives the fluff its rich, tangy backbone and helps it set without wobbling. Skipping cream cheese results in a dessert that’s too airy and lacks structure. If you’re dairy‑free, try a blend of silken tofu and a splash of lemon juice for a similar texture.
Unsalted butter, melted (0.5 cup): Butter adds silkiness and a buttery aroma that makes the whole dish feel festive. Use real butter, not margarine, because the flavor difference is night and day. If you’re watching calories, you can cut this in half and replace the missing fat with an extra tablespoon of Greek yogurt.
The Sweetening Symphony
Powdered sugar (1 cup): It dissolves instantly, ensuring no gritty texture. Too much sugar will overpower the cherries; too little leaves a bland aftertaste. If you prefer a less sweet version, reduce to ¾ cup and add a pinch of honey for depth.
Vanilla extract (1 tsp): Vanilla lifts the cherry flavor and adds warmth. A cheap vanilla can taste flat, so splurge on pure extract. For a nutty twist, swap half the vanilla for almond extract.
The Setting Stars
Unflavored gelatin (2.25 tsp, one packet): Gelatin is the magic that holds the fluff together without making it rubbery. If you forget to bloom it in cold water first, you’ll end up with clumps. For a vegetarian version, use agar‑agar, but reduce the amount to half and follow the package instructions.
Cold water (0.25 cup) and milk (0.5 cup): The water hydrates the gelatin, while the milk adds a subtle creaminess that makes the texture smoother than a traditional fluff. Skipping the milk will give you a firmer, less luxurious mouthfeel.
Everything's prepped? Good. Let’s get into the real action…
The Method — Step by Step
Start by gathering your cherries. If you’re using frozen, spread them on a parchment sheet and let them thaw just enough to separate, about 10 minutes. Pat them dry—this step is crucial because excess water will dilute the flavor later. Once dry, slice each cherry in half lengthwise, exposing the juicy interior. The aroma at this point is already a promise of what’s to come.
In a medium saucepan, combine the melted butter, powdered sugar, and a pinch of salt. Heat over medium, stirring constantly, until the sugar dissolves completely and the mixture becomes a glossy, golden syrup. You’ll hear a gentle sizzle—this is the sound of flavor building. Once the syrup is smooth, remove from heat and let it cool for a minute.
Kitchen Hack: Add a splash of orange zest to the syrup for a citrusy lift that pairs beautifully with cherries.While the syrup cools, whisk the softened cream cheese in a large mixing bowl until it’s smooth and free of lumps. This is where the fluff gets its luxurious body. Gradually pour the warm syrup into the cream cheese, whisking continuously to avoid curdling. The mixture should turn a pale pink, glossy sheen that looks like a polished marble.
Now comes the tricky part: the gelatin. In a small bowl, sprinkle the gelatin over the cold water and let it bloom for 5 minutes. This is the moment where many recipes go wrong—if you skip the blooming, the gelatin won’t dissolve properly, leaving you with unsightly specks. Once bloomed, gently warm the gelatin mixture over a double boiler or in short bursts in the microwave (10‑second intervals) until fully dissolved. Watch Out: Overheating gelatin destroys its setting power, so keep the temperature just below a simmer.
Watch Out: If the gelatin mixture starts to bubble, remove it immediately; bubbling indicates it’s too hot.Combine the dissolved gelatin with the milk, stirring until fully incorporated. Then, slowly pour this liquid into the cream cheese‑syrup blend, whisking constantly. You’ll notice the mixture thickening almost instantly, a sign that the gelatin is doing its job. This is the moment of truth—if the mixture looks too runny, add a pinch more gelatin dissolved in a teaspoon of water.
Kitchen Hack: For an extra lift, fold in a tablespoon of whipped egg whites (stiff peaks) at this stage.In a separate chilled bowl, whip the heavy cream with the vanilla extract until soft peaks form. The cream should be airy but still hold its shape—think of a cloud that’s just about to drift away. Gently fold the whipped cream into the cherry‑cream mixture, using a spatula and a gentle lifting motion. This step adds the lightness that makes the fluff feel like a festive cloud.
Now, fold in the halved cherries, distributing them evenly throughout the mixture. The cherries should stay whole enough to provide a burst of juice when bitten, but not so large that they dominate each spoonful. At this point, the aroma will be intoxicating—sweet, buttery, with a whisper of vanilla and a bright cherry zing.
Transfer the finished fluff into individual serving glasses, ramekins, or a large trifle bowl. Smooth the top with a spatula, then cover each container with plastic wrap. Refrigerate for at least 2 hours, but preferably overnight, to allow the gelatin to set fully and the flavors to meld. The waiting part is the hardest—trust me, the payoff is worth every minute.
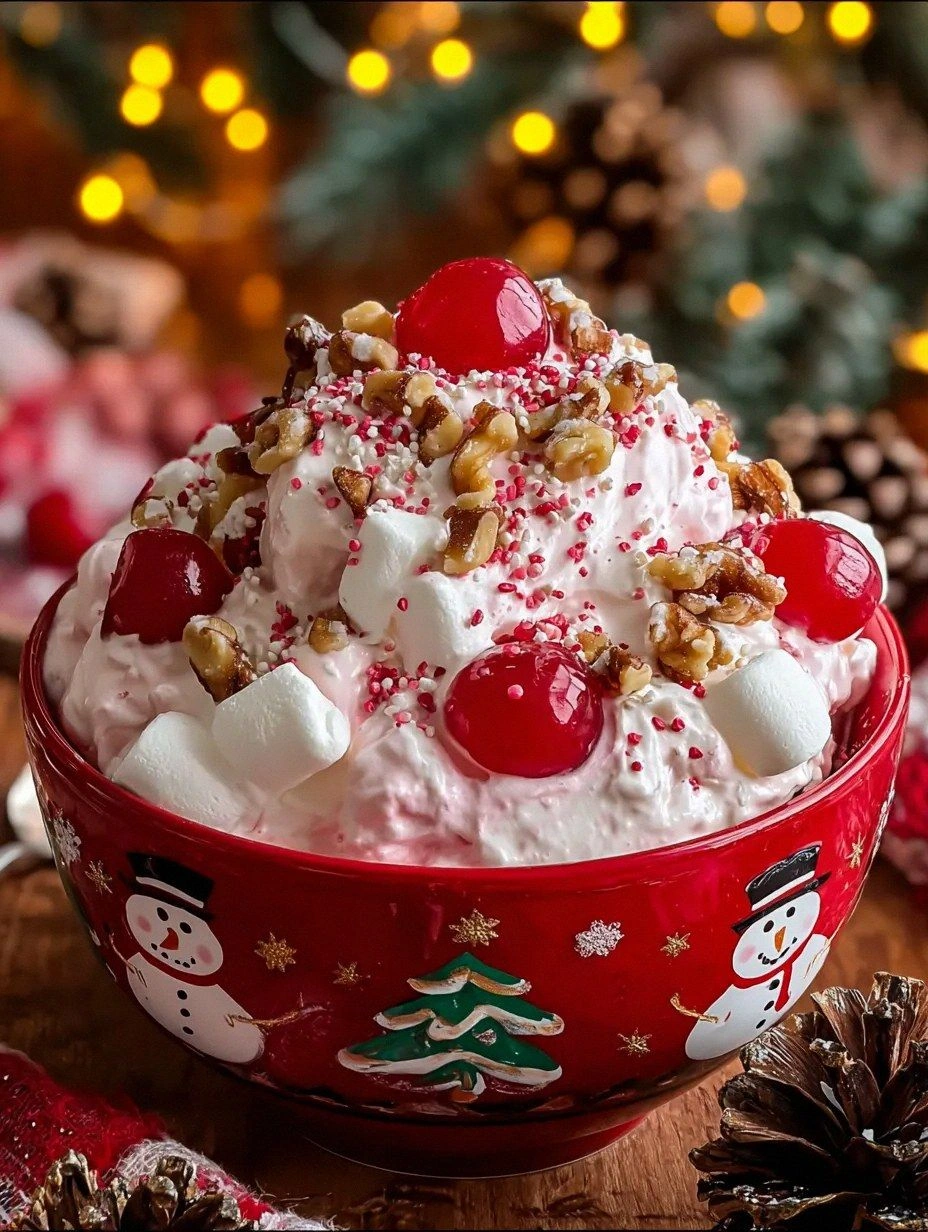
When you’re ready to serve, garnish with a few fresh cherry halves, a dusting of powdered sugar, and a sprig of mint for color contrast. The final presentation should look like a snowy hill dotted with ruby gems. That moment when you scoop out a portion and the fluff holds its shape, glistening with a subtle sheen? Pure magic. That’s it—you did it. But hold on, I’ve got a few more tricks that’ll take this to another level…
Insider Tricks for Flawless Results
The Temperature Rule Nobody Follows
Never, ever add gelatin to a mixture that’s hotter than 120°F (49°C). If you’ve ever seen a gelatin dessert turn rubbery, you know why. The secret is to let the syrup cool just enough so that when you whisk in the gelatin‑milk blend, the temperature is gentle. I once tried to speed things up by adding the gelatin while the mixture was still sizzling—result? A gummy mess that no one could eat. Keep it cool, and the fluff will set with a silk‑smooth finish.
Why Your Nose Knows Best
Before you even taste, let your nose do the judging. When the cherry‑butter mixture reaches a faint caramel aroma, you know the sugar has fully dissolved and the butter has integrated. If you smell any raw flour or dairy, something’s off. Trusting your sense of smell saves you from a batch that’s under‑cooked or over‑sweetened.
The 5‑Minute Rest That Changes Everything
After folding in the whipped cream, let the mixture sit for five minutes before adding the cherries. This short rest lets the air bubbles stabilize, preventing the fluff from collapsing when you stir in the fruit. I once skipped this step in a hurry and ended up with a deflated dessert that looked more like a puddle than a cloud.
Gelatin Blooming Mastery
Use a shallow dish for blooming gelatin—this increases surface area, ensuring the granules hydrate quickly. Sprinkle the gelatin evenly over the water, then let it sit undisturbed. If you see clumps, give it a gentle stir with a clean fork. Proper blooming guarantees a uniform set without specks.
Chill Your Tools
When whipping the heavy cream, chill the bowl and whisk for at least 15 minutes. Cold tools trap air better, giving you loftier peaks. I once tried to whip cream straight out of the fridge without chilling the bowl and ended up with flat, buttery cream that never lifted the fluff.
Creative Twists and Variations
This recipe is a playground. Here are some of my favorite ways to switch things up:
Chocolate Cherry Fusion
Swap half the powdered sugar for cocoa powder and add a tablespoon of melted dark chocolate to the syrup. The result is a deep, mocha‑kissed cherry fluff that feels like a holiday after‑dinner treat.
Spiced Winter Warmth
Incorporate a pinch of ground cinnamon, nutmeg, and a dash of clove into the syrup. The spices turn the fluff into a cozy, aromatic dessert perfect for chilly evenings.
Almond‑Cherry Delight
Replace the vanilla extract with almond extract and sprinkle toasted almond slivers on top before serving. The nutty undertone elevates the cherry flavor to a sophisticated level.
Vegan Velvet
Use coconut cream in place of heavy cream, dairy‑free cream cheese, and agar‑agar instead of gelatin. The texture remains luxurious, and the flavor stays true to the original.
Mini Parfait Layers
Layer the cherry fluff with crumbled shortbread or graham crackers and a dollop of whipped mascarpone. Serve in clear glasses for a visual treat that looks as good as it tastes.
Storing and Bringing It Back to Life
Fridge Storage
Cover the fluff tightly with plastic wrap or store in airtight containers. It will keep fresh for up to 4 days, and the flavors will deepen, making each bite richer. If you notice a thin skin forming, simply stir the top layer gently before serving.
Freezer Friendly
Portion the fluff into freezer‑safe containers, leaving a little headspace. Freeze for up to 2 months. When ready to serve, transfer to the fridge to thaw overnight, then give it a quick whisk to restore its airy texture.
Best Reheating Method
Although the fluff is best served cold, if you prefer a slightly warm dessert, place a serving in a microwave‑safe dish, add a splash of milk (about a tablespoon), and heat for 10‑15 seconds. The added moisture steams the fluff back to perfection without losing its shape.