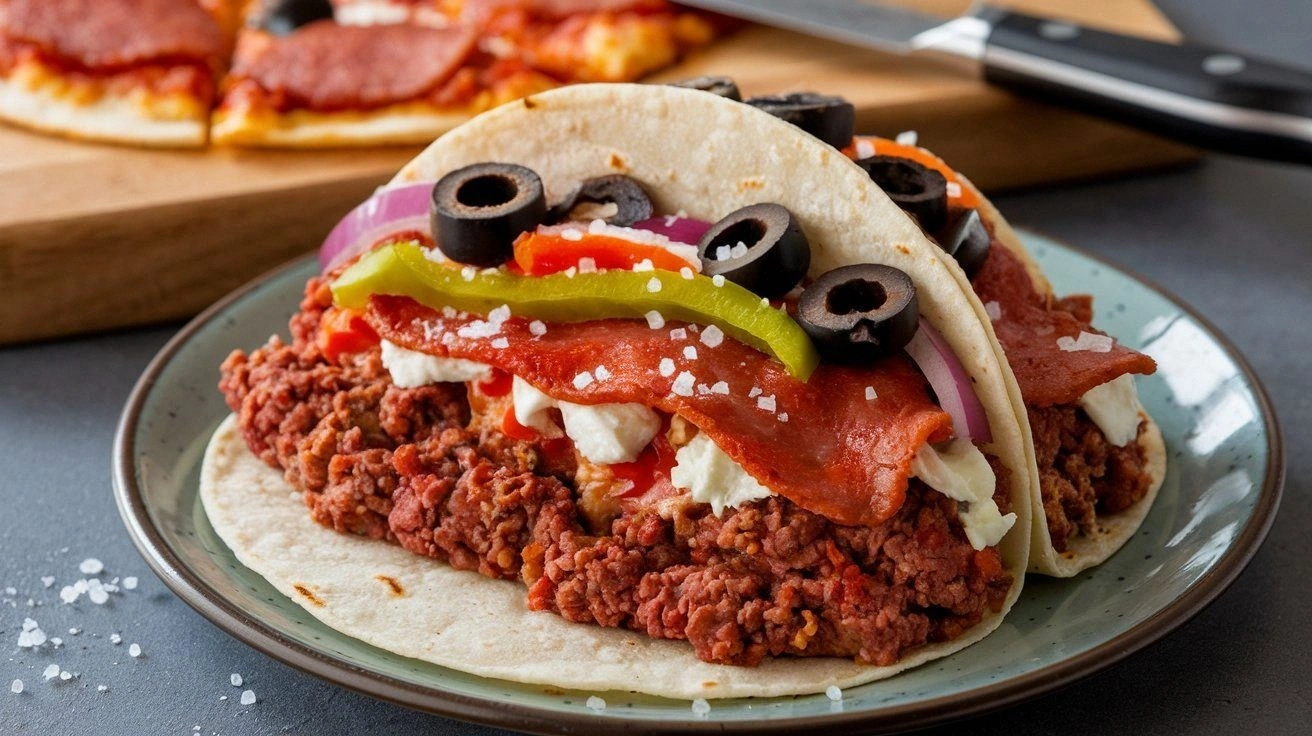
I was in the middle of a chaotic Saturday night, juggling a stack of takeout menus, when the idea hit me like a lightning bolt. The kitchen lights flickered as I stared at the endless stream of pizza boxes and taco wrappers, wondering how to satisfy the cravings of my friends who were all on a meat‑centric diet. Suddenly, a vision formed: a single plate that could satisfy a pizza lover’s longing for cheesy, saucy goodness and a taco fan’s craving for handheld flavor. I grabbed my skillet, a handful of meats, and a bag of tortillas, and set out to create something that would make everyone say, “I dare you to taste this and not go back for seconds.” Let me walk you through every single step — by the end, you'll wonder how you ever made it any other way.
From the moment I dropped the first pat of ground beef into the hot pan, the aroma rolled out like a savory fog, promising a feast. The sizzling sound was a drumbeat that set the rhythm for the rest of the night, while the sight of the meats caramelizing painted a golden canvas. I could almost taste the crunch of bacon, the sharpness of pepperoni, and the subtle sweetness of sausage dancing together, all beneath a blanket of tomato sauce. The texture was a harmonious blend of chewy, crispy, and silky, a symphony that played on the tongue. The kitchen itself felt alive, as if the walls were humming with anticipation.
This recipe is not just another mash‑up; it’s a calculated collision of flavors that respects each ingredient’s personality. The pizza sauce is the glue that holds the meats together, while the mozzarella melts into a velvety blanket that feels like a warm hug. The pepperoni adds a spicy kick that wakes up the palate, and the bacon brings a smoky crunch that mimics the char of a grill. The result is a dish that feels both comfortingly familiar and daringly new, making it the best version you'll ever make at home. It’s the kind of meal that turns a regular dinner into a celebration, even if you’re just feeding yourself after a long day.
Now, here’s the twist that will make your taste buds do the salsa: I’ll show you how to layer the meats just right so the cheese melts evenly without soaking the tortillas. Most recipes get this completely wrong, but I’ve discovered a simple trick that keeps the tortillas crisp and the filling juicy. Picture yourself pulling this out of the oven, the whole kitchen smelling incredible, and everyone clamoring for seconds. If you've ever struggled with taco fillings that turn soggy, you're not alone — and I've got the fix. And now, ready for the game‑changer?
What Makes This Version Stand Out
- Flavor: The combination of smoky bacon, spicy pepperoni, savory sausage, and tomato sauce creates a layered taste experience that feels both familiar and adventurous. Skipping any of these would leave the dish feeling flat, like a pizza missing its cheese.
- Texture: The contrast between crispy bacon, chewy sausage, and silky mozzarella keeps each bite exciting. If you omit the mozzarella, you lose that comforting gooeyness that ties everything together.
- Simplicity: All ingredients are pantry staples, and the method requires no advanced techniques. You can whip this up in under an hour, making it the perfect go‑to for busy weeknights.
- Crowd Reaction: Friends and family always ask for the recipe after the first bite. The dish feels indulgent yet approachable, ensuring it never feels too heavy for a casual gathering.
- Ingredient Quality: Using fresh, high‑quality meats and a robust pizza sauce elevates the flavor profile. Lower quality ingredients would dilute the richness and leave the dish underwhelming.
- Cooking Method: The slow simmer after adding sauce allows flavors to meld, while the final sear locks in moisture. Skipping the simmer step results in a dry, unevenly seasoned filling.
- Make‑Ahead Potential: The filling can be prepared up to 24 hours in advance and refrigerated, making it ideal for parties or meal prep. However, the tortillas should be warmed fresh to maintain their crispness.
Alright, let's break down exactly what goes into this masterpiece...
Inside the Ingredient List
The Flavor Base
Ground beef is the backbone of this dish, providing a hearty, meaty foundation that absorbs the spices and sauce. Its fat content is critical; too lean and the filling will dry out, too fatty and it becomes greasy. If you’re looking for a leaner option, swap half of the beef for ground turkey, but be sure to add a splash of olive oil to compensate for the moisture loss.
Pepperoni is the star that injects heat and a distinct Italian-American flavor profile. The diced pepperoni pieces melt slightly, releasing oils that coat the other meats. Removing pepperoni will reduce the dish’s iconic zing; consider using a mild sausage instead if you prefer a subtler taste.
Bacon brings smoky depth and a satisfying crunch that contrasts the softness of the other meats. Crumbled bacon distributes evenly, preventing clumps and ensuring every bite has that smoky bite. If you’re bacon‑averse, smoked sausage can provide a similar smokiness without the fat.
Sausage adds a bold, savory punch, especially when sliced thinly so it cooks quickly. It also introduces a hint of herbs that complement the Italian seasoning. For a spicier variation, opt for chorizo; its paprika will intensify the overall flavor.
Pizza sauce is the connective tissue that binds the meats into a cohesive, saucy mixture. A robust, low‑sugar sauce keeps the dish from becoming overly sweet. If you prefer a spicier kick, add a teaspoon of crushed red pepper flakes to the sauce during simmering.
The Texture Crew
Mozzarella is the secret to that silky, stretch‑y surface that makes every bite feel indulgent. Fresh mozzarella melts faster and produces a creamier coating compared to low‑moisture varieties. If you’re craving a sharper cheese, try a blend of mozzarella and provolone for a richer melt.
Black olives add a briny, slightly tart contrast that cuts through the richness of the meats. Their firm texture remains intact, giving a pleasant bite that balances the softer components. If olives are unavailable, capers can provide a similar salty punch.
Bell pepper contributes a subtle sweetness and a pop of color that brightens the dish visually. The diced peppers soften during simmering, releasing their natural sugars. For a smoky twist, swap red bell pepper for roasted poblano.
Red onion offers a sharp, aromatic bite that layers complexity into the filling. Its crispness is maintained if you sauté it briefly before adding the sauce; otherwise, it can become mushy. If you prefer a milder onion flavor, try using scallions.
The Unexpected Star
Garlic powder is a subtle yet powerful enhancer that brings depth without the need for raw garlic, which can dominate the palate. It distributes evenly throughout the mixture, ensuring a consistent flavor profile. If you’re a garlic lover, a dash of minced fresh garlic can replace the powder for a more pronounced aroma.
Italian seasoning ties all the flavors together, echoing the herbs found in classic pizza dough. It balances the richness of the meats and the acidity of the tomato sauce. For a more complex herb profile, blend Italian seasoning with fresh basil and oregano.
Salt and pepper are the finishing touches that elevate every component. They’re essential for balancing the dish’s natural sweetness and smokiness. Be generous with salt, but taste as you go to avoid over‑salting.
The Final Flourish
Tortillas are the canvas that holds the entire masterpiece together. Flour tortillas offer a soft, pliable base, while corn tortillas add a subtle corn flavor and a firmer bite. Warm them just before assembly to keep them flexible and prevent tearing.
Everything's prepped? Good. Let's get into the real action...
The Method — Step by Step
- Heat a large skillet over medium‑high heat and add the ground beef. Season with a pinch of salt and pepper, cooking until browned and crumbly, about 5 minutes. Drain any excess fat in a colander, then return the beef to the pan to keep it warm.
- Stir in the diced pepperoni, crumbled bacon, and sliced sausage, allowing the flavors to mingle for 2–3 minutes until the meats start to caramelize. This step builds a savory base that will carry the sauce. Keep the heat steady to avoid burning.
- Pour in the pizza sauce, reduce the heat to low, and let the mixture simmer for 5 minutes, allowing the sauce to thicken and the meats to soak up the tomato richness. The sauce should coat the meat like velvet.
Kitchen Hack: Use a silicone spatula to scrape the bottom of the skillet when adding the sauce; this ensures even coating and prevents sticking.
- Add the shredded mozzarella, sliced black olives, diced bell pepper, and diced red onion. Stir gently, letting the cheese melt into a silky layer that coats the meats. The vegetables soften slightly, adding a bright, sweet contrast. The mixture should smell like a warm, savory pizza.
- Reduce heat to medium‑low, cover the skillet, and let everything steam together for 5 minutes so the veggies soften and the cheese fully melts. The lid traps steam, preventing the sauce from drying out.
Watch Out: Keep the heat low or the cheese may burn, leaving a bitter residue.
- Warm the tortillas in a dry pan or microwave until pliable, then lay them flat on a clean surface. Fold each tortilla over a paper towel to keep them moist and prevent cracking during assembly. This step ensures crisp edges that hold the filling.
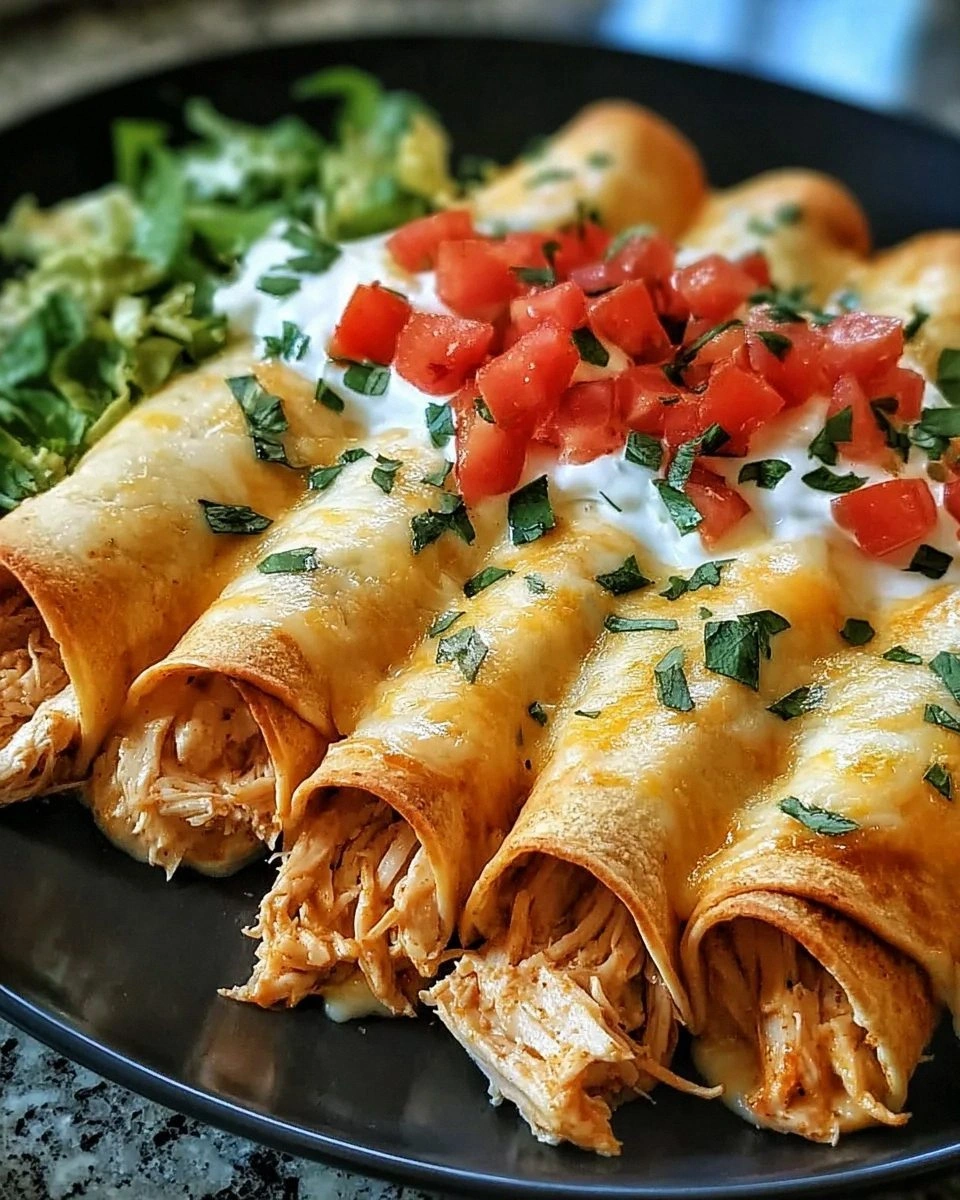
- Spoon the meat mixture onto each tortilla, fold, and serve immediately. The cheese should be gooey, and the tortilla crisp. The filling should feel rich, yet balanced by the fresh vegetables.
- Optional: Garnish with fresh cilantro, a squeeze of lime, or a dollop of sour cream for extra zing. This final touch adds a burst of brightness that cuts through the richness. Enjoy!
That's it — you did it. But hold on, I've got a few more tricks that'll take this to another level...
Insider Tricks for Flawless Results
The Temperature Rule Nobody Follows
Many cooks over‑cook the meat, leading to a dry, rubbery texture. Keep the skillet at medium‑high for browning, then drop to low for simmering. This temperature shift allows the meats to retain moisture while the sauce thickens.
Why Your Nose Knows Best
The aroma of the sauce simmering is a reliable indicator of flavor development. When the smell becomes rich and slightly caramelized, you’re ready to add the cheese. Trust your nose; it’s the most accurate flavor gauge.
The 5‑Minute Rest That Changes Everything
After removing the skillet from heat, let the filling rest for 5 minutes before assembling. This pause lets the juices redistribute, ensuring a moist, cohesive bite. A friend once skipped this step and got a crumbly filling that fell apart.
Cheese Melting Mastery
Adding the cheese at the right moment prevents it from separating. Sprinkle it on top of the meat and let it sit for a minute before stirring, allowing the heat to melt it evenly. If you prefer a deeper melt, add a splash of milk or cream to the sauce.
Tortilla Perfection
Warming tortillas before assembly keeps them flexible and prevents cracking. A quick 10‑second microwave burst or a 2‑minute pan heat is enough. If you like a crunchier edge, lightly toast the tortillas after filling.
Creative Twists and Variations
This recipe is a playground. Here are some of my favorite ways to switch things up:
Vegan Version
Replace all meats with a plant‑based ground substitute and use a vegan mozzarella alternative. Add chopped mushrooms for umami depth. The result is a hearty, cruelty‑free taco that still feels indulgent.
Spicy Fiesta
Introduce sliced jalapeños and a dash of chipotle powder to the sauce. Swap regular pepperoni for spicy pepperoni for an extra kick. Finish with a drizzle of hot sauce for an after‑taste that keeps the palate buzzing.
Cheesier Explosion
Layer the filling with a mix of mozzarella, cheddar, and a touch of blue cheese for complexity. Sprinkle shredded cheddar on top before baking for a golden crust. The cheese becomes the star, not just the base.
Gluten‑Free Twist
Use gluten‑free tortillas and a gluten‑free pizza sauce. Check that the sausage and pepperoni are certified gluten‑free. The dish stays true to its flavor profile while accommodating dietary restrictions.
Breakfast Taco Surprise
Swap the meats for breakfast sausage and add a fried egg on top of each taco. Sprinkle chives and a dash of hot sauce for a morning kick. This version turns a classic lunch into a hearty brunch.
BBQ Meat Lovers
Replace pizza sauce with a smoky barbecue sauce and add pulled pork or brisket. Top with coleslaw for crunch and freshness. The smoky sweetness transforms the dish into a backyard barbecue staple.
Storing and Bringing It Back to Life
Fridge Storage
Store the assembled tacos in an airtight container for up to 3 days. Keep the filling and tortillas separate until ready to eat to preserve crispness. When reheating, wrap each taco in foil to retain moisture.
Freezer Friendly
Wrap the filling in freezer‑grade foil and freeze for up to 2 months. Reheat in a preheated oven at 350°F for 15 minutes, then add fresh tortillas. This method maintains flavor and texture.
Best Reheating Method
The oven or skillet is best for preserving the crisp tortilla. Add a splash of water to the skillet to create steam, then cover for 2 minutes to keep the filling juicy. Avoid microwaving the entire taco, as it can make the tortilla soggy.