I still remember the night the kitchen turned into a disaster zone. I was trying to impress my roommate with a quick dinner, and the instant pot decided to act like a rogue volcano. A splatter of ground beef, a splash of broth, and suddenly the pot was bubbling like a cauldron of chaos. I stared at the screen, heart racing, and whispered, “I dare you to taste this and not go back for seconds.” That was the moment I realized I had stumbled upon a recipe that would rewrite my culinary rulebook.
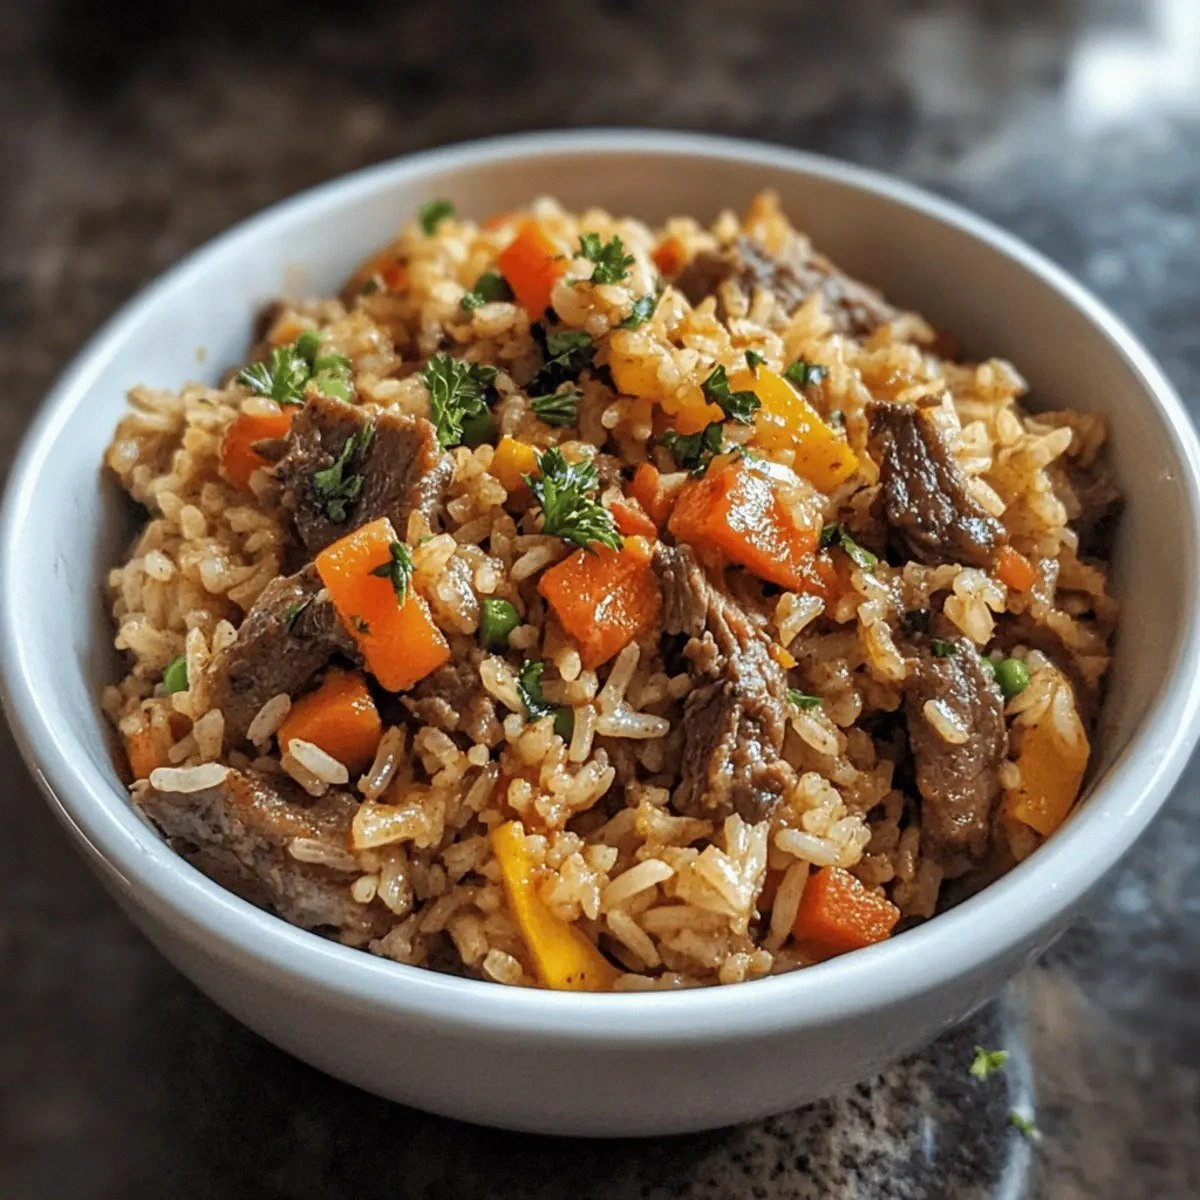
Picture this: a sizzling mound of browned beef, the aroma of garlic and onions mingling with the sweet whisper of bell pepper, all wrapped in a comforting blanket of long‑grain rice. The steam rises like a fragrant cloud, and the instant pot’s pressure seal turns every ingredient into a flavor powerhouse. The sound of the pot’s whistle is the soundtrack to a meal that feels like a hug from the inside out. My taste buds danced with a harmony of savory, umami, and a hint of heat that only a splash of red chili flakes can deliver.
What makes this version stand out from the countless “beef and rice” dishes out there is the meticulous layering of textures and the clever use of the instant pot’s quick‑pressure feature. I’ve perfected a method that locks in juices without overcooking the veggies, keeping carrots crisp and peas bright. The sauce, a marriage of soy and Worcestershire, coats the rice like velvet, while a dash of fresh parsley adds a burst of green freshness that lifts the dish. If you’re tired of bland, one‑size‑fits‑all meals, this recipe is hands down the best version you’ll ever make at home.
And there’s a secret twist that sets it apart: the instant pot’s ability to infuse the rice with the savory broth and spices in a fraction of the time it would take on a stovetop. No more simmering for hours or worrying about the pot drying out. Instead, you press a button, let the flavors meld, and come home to a plate that smells like a restaurant kitchen but was made in your own home. Let me walk you through every single step — by the end, you’ll wonder how you ever made it any other way.
What Makes This Version Stand Out
- Flavor Depth: The combination of soy sauce, Worcestershire, and a pinch of salt creates a layered umami profile that lingers on the palate. The beef browning step caramelizes sugars, adding a subtle sweetness that balances the savory notes.
- Texture Contrast: Carrots retain a gentle crunch while the rice remains fluffy, thanks to precise timing. The frozen peas burst into bright green specks, adding a pop of color and a sweet bite that cuts through the richness.
- Time Efficiency: The instant pot reduces cooking time from an hour on the stove to just 30 minutes, making it ideal for busy weeknights or last‑minute dinner plans.
- Health‑Friendly: Using lean ground beef and fresh vegetables keeps the dish balanced, with a good protein-to-carb ratio and a moderate amount of fat. The recipe is naturally low in refined sugars.
- Versatility: It’s a blank canvas that can be dressed up with different herbs, spices, or protein variations. The base flavor works with chicken, pork, or even tofu for a vegetarian version.
- Crowd Appeal: Friends and family rave about the comforting, familiar taste combined with a surprising burst of heat from the chili flakes. It’s a dish that works for casual dinners and holiday gatherings alike.
- Make‑Ahead Potential: The flavors only deepen after resting, making it perfect for meal prep. Store in the fridge and reheat for a quick lunch or dinner.
- Ingredient Quality: The recipe’s success hinges on the freshness of the vegetables and the quality of the ground beef. Choosing the right cuts and seasonal produce elevates the dish to gourmet status.
Alright, let’s break down exactly what goes into this masterpiece…
Inside the Ingredient List
The Flavor Base
Ground beef is the heart of this dish, bringing a rich, meaty flavor that’s amplified by the Maillard reaction during browning. Use an 80/20 mix for maximum juiciness, but if you’re watching fat, 90/10 still delivers a satisfying bite. Skipping the beef means you lose that deep umami core, and the dish turns into a bland veggie‑rice mash.
Soy sauce is the backbone of the sauce, adding saltiness and a dark, glossy sheen to the rice. It also acts as a natural preservative, helping the dish stay fresh longer. If you’re sensitive to sodium, use a low‑sodium version and increase the Worcestershire sauce for depth.
Worcestershire sauce brings a tangy, slightly sweet undertone that balances the savory beef. It’s a secret ingredient that most instant pot recipes overlook. You can substitute with a splash of balsamic vinegar or a dash of tomato paste if you’re out of Worcestershire.
The Texture Crew
Carrots add a subtle sweetness and a satisfying crunch that contrasts the softness of the rice. Their bright orange color also makes the dish visually appealing. If you prefer a softer bite, slice them thinly so they cook faster.
Bell peppers bring a sweet, peppery flavor and a vibrant pop of color. The combination of red, yellow, and green peppers creates a rainbow that’s both Instagram‑worthy and palate‑pleasing. Removing the seeds reduces bitterness and keeps the dish from turning slightly bitter.
Frozen peas are the perfect surprise element, bursting into bright green when heated. They’re a quick and convenient way to add protein and a pop of color without extra prep. If you have fresh peas, they’ll work just as well but require a bit more chopping.
The Unexpected Star
Fresh parsley or cilantro is the final flourish that lifts the dish with a herbaceous freshness. It cuts through the richness of the beef and adds a bright, almost citrusy note. If you’re not a fan of cilantro, parsley is a safe alternative that still delivers that fresh lift.
Everything’s prepped? Good. Let’s get into the real action…
The Method — Step by Step
- Set your instant pot to the “Sauté” function and let it heat up. Add a splash of oil and wait until it shimmers. Then, toss in the ground beef, breaking it up with a wooden spoon. The beef should sizzle immediately, releasing a savory aroma that fills the kitchen. Let it cook until browned and no longer pink, about 5 minutes. This step is the moment of truth; don’t rush it, or the beef will be dry.
- Add the diced onion, minced garlic, and sliced carrots to the pot. Stir for 2 minutes until the onion softens and the garlic releases its fragrance. This is where the base of the sauce begins to form. Watch for the onions to turn translucent; that’s the cue that the aromatics are ready.
- Pour in the beef broth and stir to deglaze the bottom of the pot. Scrape up any browned bits; they’re packed with flavor. Then, add the soy sauce, Worcestershire sauce, and a pinch of salt and black pepper. Stir again, letting the liquids mingle. The broth should bubble gently, indicating it’s ready for pressure cooking.
- Add the long‑grain white rice, making sure it’s evenly distributed. Sprinkle the red chili flakes over the top for that subtle heat. Stir once more to coat the rice with the sauce. The rice should look glossy and coated, like a shiny coat of velvet.
- Close the lid, set the valve to “Sealing,” and select the “Manual” or “Pressure Cook” setting at high pressure for 8 minutes. The instant pot will take about 5 minutes to build pressure, then start the countdown. Trust the timer; the rice will be perfectly cooked when the pressure releases.
- Once the cooking cycle ends, let the pressure release naturally for 10 minutes before quick‑releasing the rest. This gentle release allows the rice to finish steaming and keeps the veggies from becoming mushy.
- Open the lid carefully. Stir in the frozen peas and let them heat through for 2 minutes. The peas will rehydrate quickly and retain their bright green color. This step is crucial; it adds a pop of color and a sweet bite that balances the savory meat.
- Finally, sprinkle the fresh parsley or cilantro over the top and give everything a good stir. Taste and adjust the seasoning with extra salt, pepper, or chili flakes if desired. Plate the dish with a spoonful of rice on top and a generous scoop of the beef mixture. The result is a hearty, comforting bowl that feels like a hug from the inside out.
That’s it — you did it. But hold on, I’ve got a few more tricks that’ll take this to another level…
Insider Tricks for Flawless Results
The Temperature Rule Nobody Follows
Many people cook the rice at a low simmer, but the instant pot’s high pressure is key to unlocking the perfect texture. The high heat ensures the rice grains separate cleanly and absorb the broth evenly, preventing a gummy center. If you’re using a different pressure cooker, aim for the same pressure level for consistent results.
Why Your Nose Knows Best
Before you open the lid, give the pot a sniff. If it smells toasty and slightly caramelized, the beef is ready. A faint, raw meat smell means you need to sauté longer. Your nose is a reliable guide; trust it to tell you when the flavor is at its peak.
The 5‑Minute Rest That Changes Everything
After the natural pressure release, let the dish sit covered for 5 minutes. This resting period allows the flavors to meld and the rice to finish steaming without drying out. Skipping this step can leave the rice slightly undercooked or the sauce too thin.
Layering the Heat
If you love a kick, sprinkle chili flakes before the pressure cycle and add a second sprinkle after the peas are heated. This two‑stage heat layering gives the dish a gradual build‑up of spice that doesn’t overwhelm the palate.
The Freshness Check
Use the freshest vegetables you can find. Fresh carrots hold their crunch better, and fresh bell peppers provide a sweeter bite. If you’re buying frozen vegetables, opt for high‑quality brands that keep the texture intact during cooking.
Creative Twists and Variations
This recipe is a playground. Here are some of my favorite ways to switch things up:
Chicken & Rice Fusion
Replace the ground beef with ground chicken for a lighter version. The cooking time remains the same, but the flavor profile shifts to a milder, cleaner taste. Add a pinch of paprika for a smoky undertone.
Pork & Apple Delight
Swap the beef for ground pork and add diced apple for a sweet contrast. The pork’s fat content keeps the dish juicy, while the apple adds a subtle sweetness that balances the umami. Finish with a sprinkle of sage.
Spicy Thai Twist
Replace soy sauce with fish sauce and add a tablespoon of Thai red curry paste. The dish gains a fragrant, spicy depth, and the peas become a bright counterpoint. Garnish with lime wedges for an extra zing.
Vegetarian Powerhouse
Use crumbled tofu or a plant‑based ground meat substitute. Add a splash of nutritional yeast for a cheesy flavor and extra protein. This version keeps the same cooking method, making it a quick vegan dinner.
Mexican Street‑Food Flavor
Add cumin, oregano, and a splash of lime juice after pressure release. Sprinkle chopped cilantro and diced avocado on top. The result is a bowl that feels like a taco filling, but with rice instead of tortillas.
Breakfast Boost
Serve the dish with a fried or poached egg on top for a protein‑packed breakfast. The runny yolk adds richness, and the sauce becomes a savory sauce for the egg. Pair with a side of fresh fruit for balance.
Storing and Bringing It Back to Life
Fridge Storage
Cool the dish completely before transferring to an airtight container. Store in the refrigerator for up to 4 days. The flavors deepen, making it even more delicious the next day. When ready to eat, reheat on the stove or microwave until steaming.
Freezer Friendly
Divide the dish into portion‑sized containers and freeze for up to 2 months. Thaw overnight in the refrigerator before reheating. Add a splash of water or broth before microwaving to keep the rice from drying out.
Best Reheating Method
Reheat on the stovetop over medium heat, stirring occasionally, until hot. A tiny splash of water or broth will help steam the rice back to fluffy perfection. Alternatively, microwave on high for 2–3 minutes, stirring halfway through.